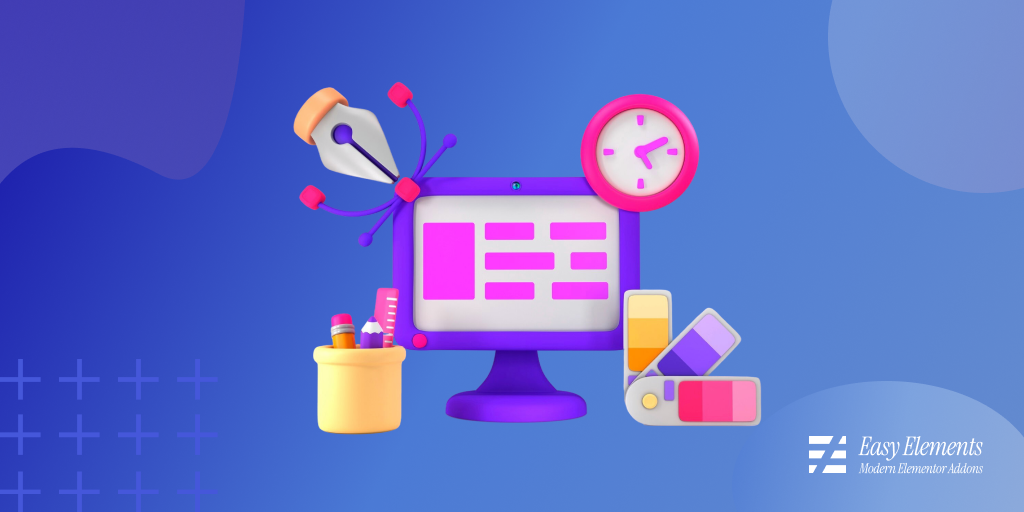
Building a professional website doesn’t have to be complicated or expensive.
With WordPress, Elementor, and Easy Elements, you can design a stunning website that works beautifully on all devices — no coding required.
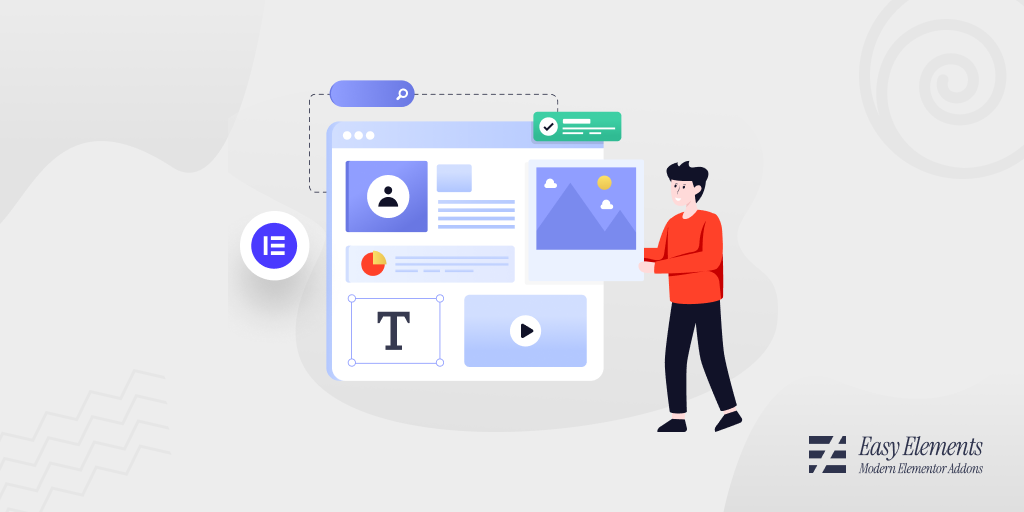
Elementor is one of the most popular visual website builders, allowing you to create page layouts with a real-time drag-and-drop editor.
Easy Elements enhances Elementor with powerful widgets and design extensions, bringing animation, advanced navigation, performance features, and more into your workflow.
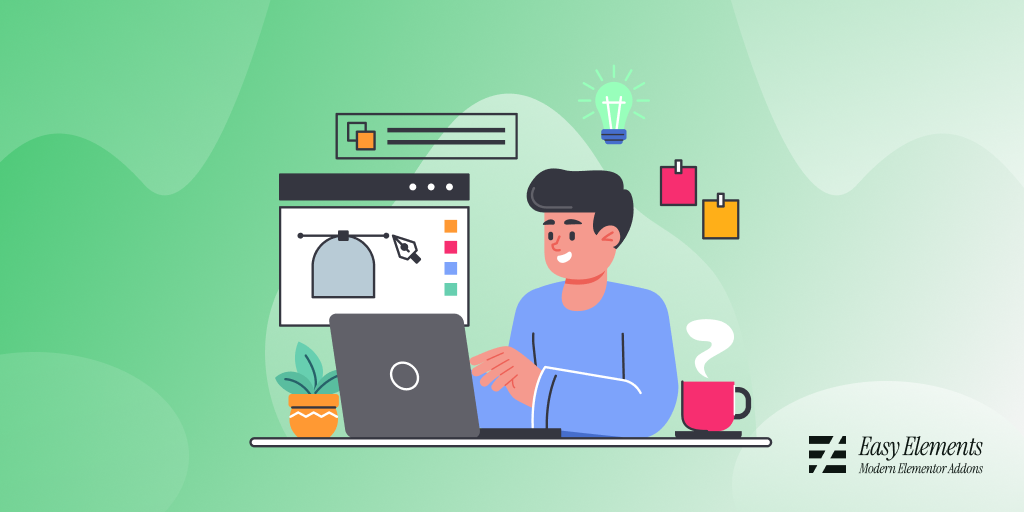
In this tutorial, you’ll learn the step-by-step process to build a stunning website.
What You’ll Need
Before starting, make sure you have the following installed:
✔ WordPress (latest version)
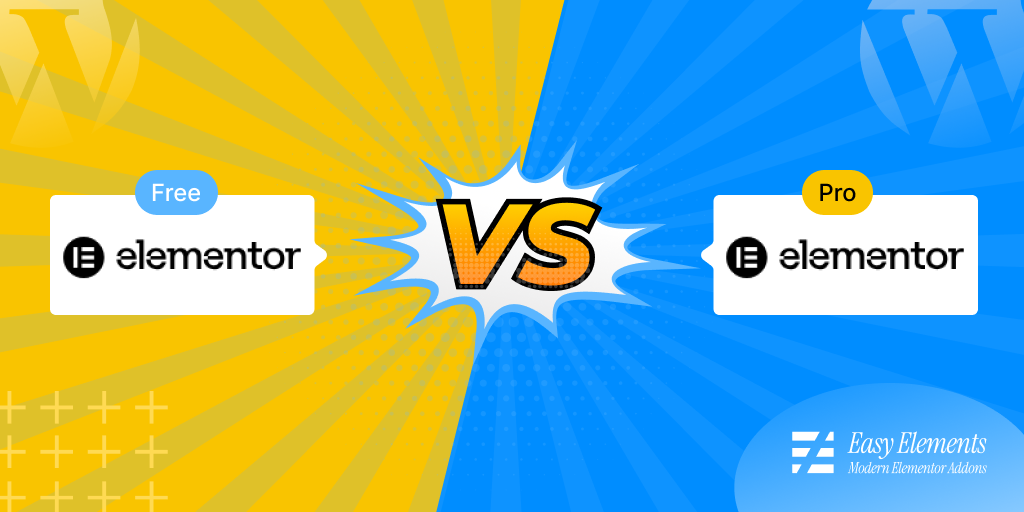
✔ Elementor (Free or Pro)
✔ Easy Elements & Easy Elements Pro
With these, you’ll have the tools to build headers, footers, animated elements, navigation, features lists, and more — all visually.
How to Customize Your Site with Elementor Addons: A Step-By- Step Guide
Here is the step by step guide to customize your site with Elementor Addons.
Step 1—Prepare Your Site & Global Settings
Start by logging into your WordPress dashboard.
- Go to Settings → General and set your site title & tagline.
- Go to Settings → Permalinks and choose “Post name” for SEO-friendly URLs.
- Install the Hello Theme (recommended for Elementor) or any lightweight theme.
Elementor will handle the page layouts, while Easy Elements enhances design flexibility.
Step 2 — Create the Site’s Header
A good header is critical for navigation and branding.
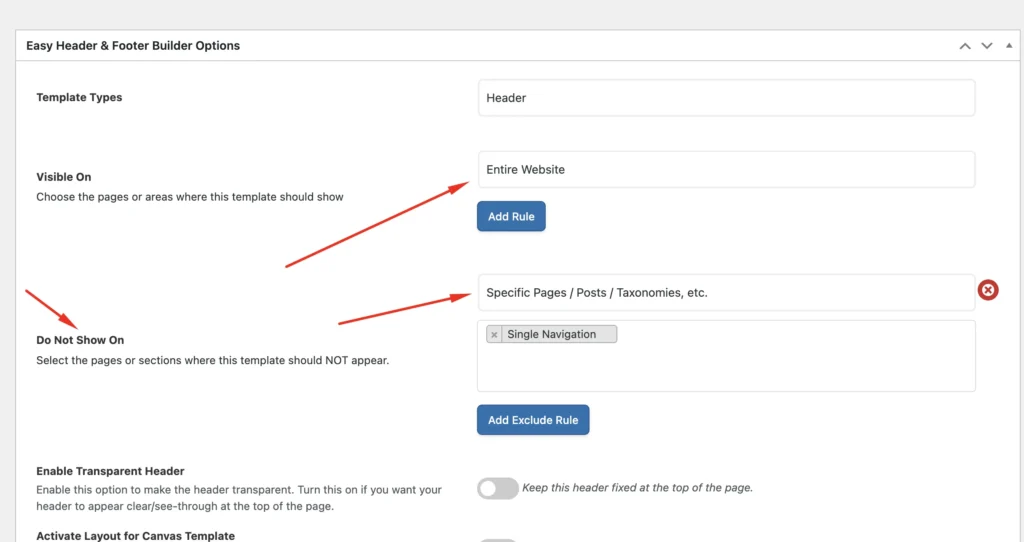
- Go to Easy Elements → Header & Footer.
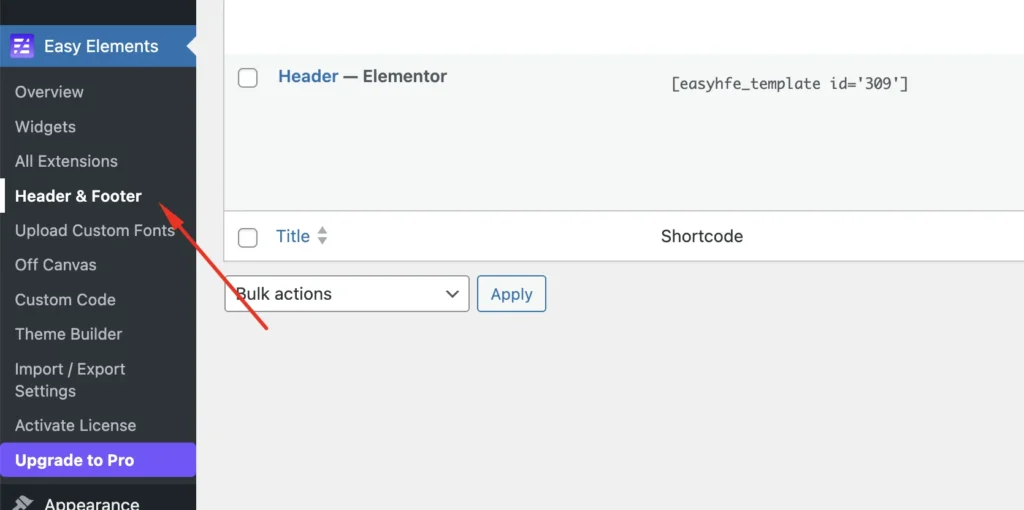
- Choose an existing header template or create a new one.
- Assign it to appear on your entire site or specific pages.
Now Edit with Elementor:
- Add your logo
- Add a navigation menu
- Style fonts, colors, and spacing
- Enable Sticky Header if needed
Your header will now be shown throughout the site.
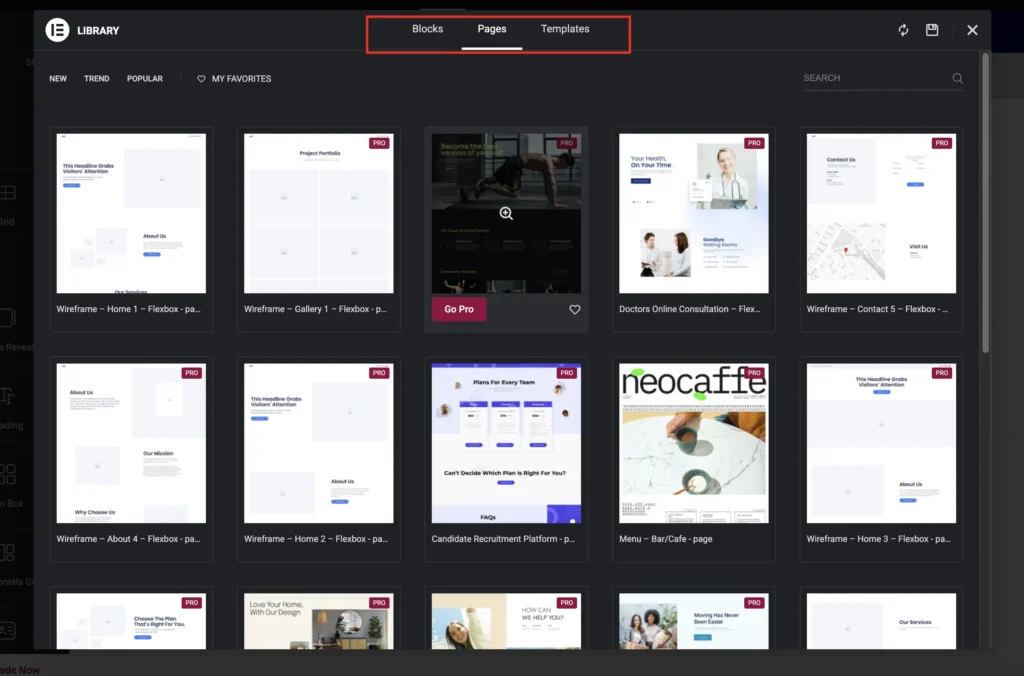
Step 3 — Build Your Homepage
Add a Template
Click Edit with Elementor on your homepage.
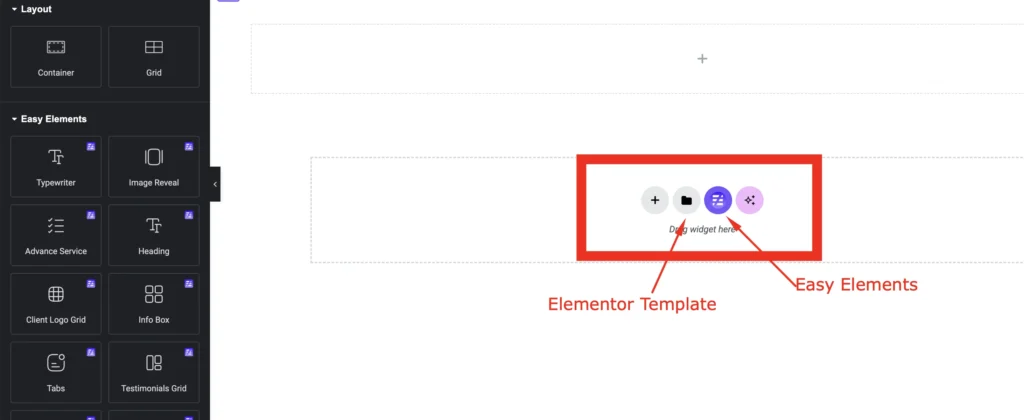
Inside Elementor’s editor:
- Click the Folder icon(Easy Elements Icon)
- Choose a pre-built Page Template
- Insert it
From here, you’ll find a wide range of built-in templates ready to use. You can easily select the one that best fits your website.
If you don’t need a full-page template, you can also insert individual sections instead.
Simply click on the Blocks option, where you’ll find ready-made sections like headers, footers, hero banners, contact forms, maps, and more.
After Insert you’ll see a full layout you can easily customize — like hero sections, testimonials, contact forms, services, and more.
This saves time compared to building everything from scratch.
Step 4 — Customize Sections with Widgets
Now you can edit each section:
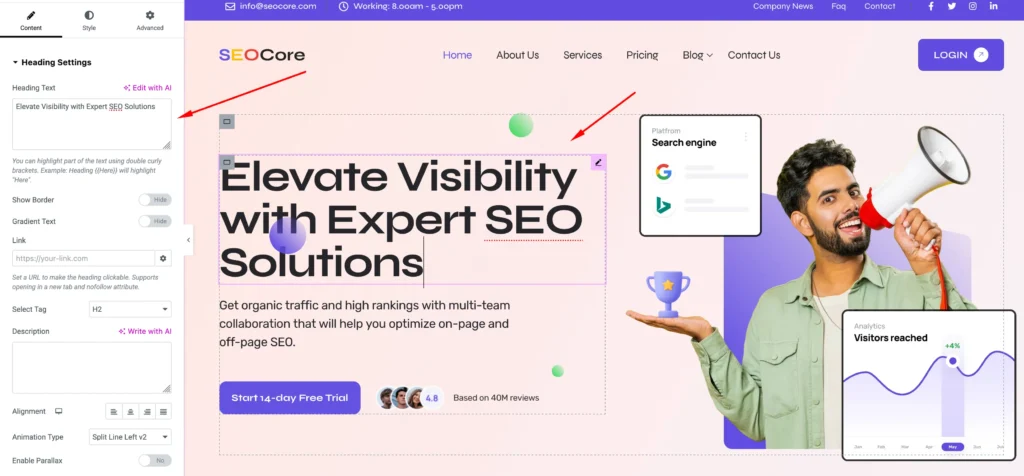
Hero Section
You can easily change the heading, add your own tagline or call to action, and replace images to match your brand. All elements are fully customizable, allowing you to personalize the section quickly using Elementor with Easy Elements.
Client Section
From the Client Logo Slider, you can easily add your logos, update them anytime, and attach links to each logo if needed. This makes it simple to showcase partners or clients in a professional way.
Edit Marqauee
The Marquee Rotating feature lets you display scrolling or rotating content smoothly across the screen. You can add text, images, or logos and control the speed, direction, and animation style to create eye-catching sections for announcements, partners, or highlights.

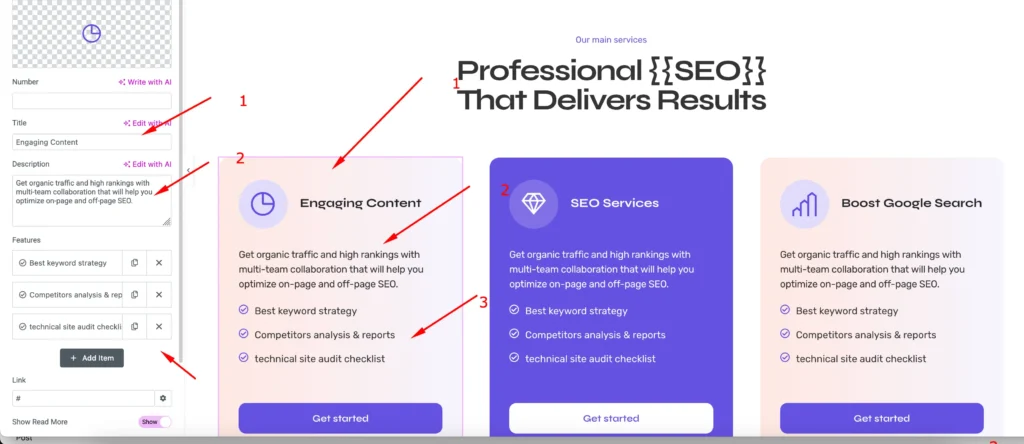
Services & Features Edit
Using the Info Box widget, you can add a title along with an icon or image, include a description, and display a features list for more details. You can also add a call-to-action button at the bottom to guide users toward the next step.
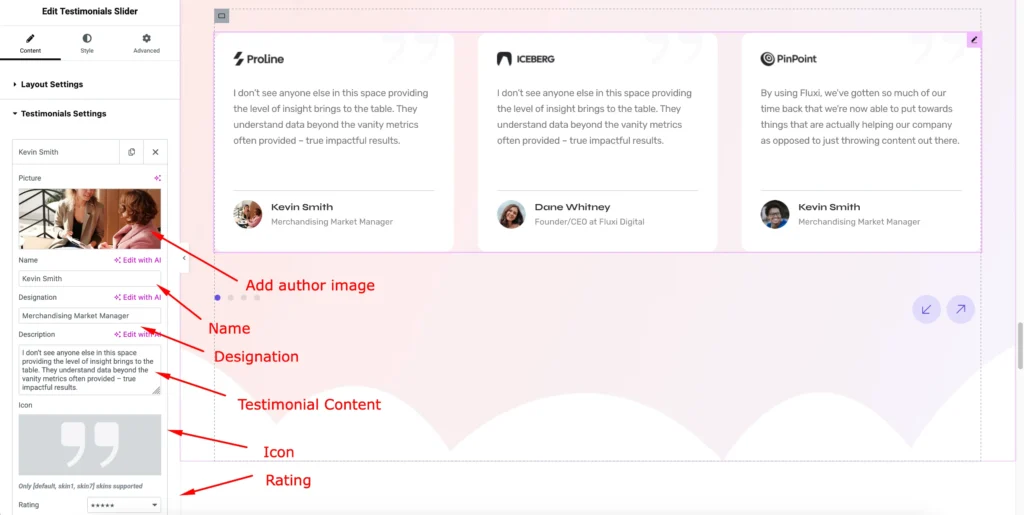
Customize Testimonial Section
Using the Easy Elements Testimonial Slider widget, you can easily customize the author’s image, name, designation, and testimonial content. You can also adjust ratings and icons to create a more engaging and trustworthy testimonial section.
Step 5 — Use Navigation & Animated Elements
For modern sites:
- Add Single Page Navigation for one-page scrolling
- Add Animated Text for engaging headlines
- Add Advanced Buttons with hover motion to boost clicks
These interactions help keep users engaged and elevate your site’s UX.
Step 6 — Build the Footer
The footer usually contains:
- Copyright text
- Social icons
- Contact information
Edit it with Elementor, or use a template. Easy Elements adds animation or badge support if you want it to stand out.

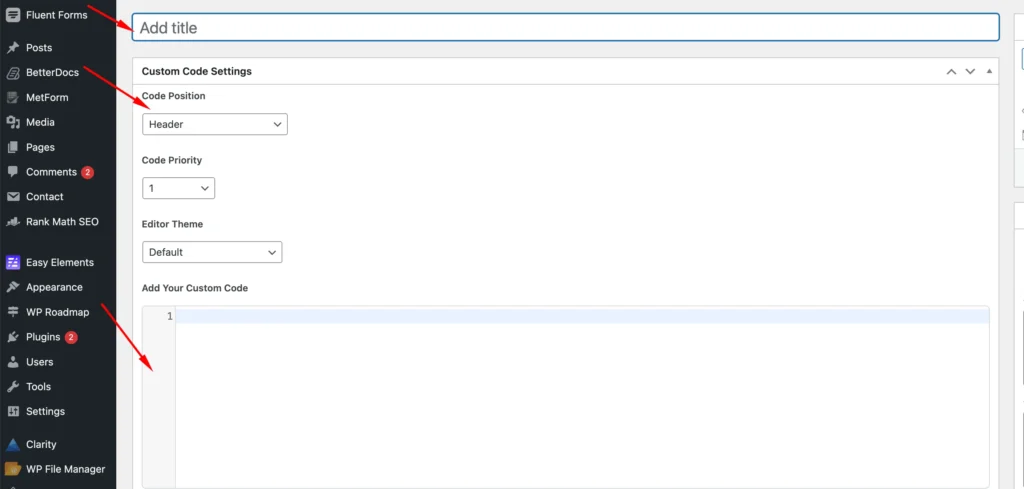
Step 7 — Add Custom Code (if needed)
If you need tracking scripts (like Google Analytics) or meta verification tags, Easy Elements has a Custom Code Manager where you can safely add code to:
- Header
- Footer
- Body start or end
No need to edit theme files.
Pro Tips for Better Design
Here are some design principles you should keep in mind:
- Consistent styling: Use global colors and typography.
- Responsive design: Make sure your layout looks great on mobile.
- Meaningful content: Focus on clarity and user needs.
- Fast performance: Avoid unnecessary plugins; Easy Elements loads only what you use.
Final Preview & Launch
Once you’ve customized all sections:
- Click Update / Publish
- Preview your site on desktop and mobile
- Test navigation, forms, and loading performance
Your site is now live and ready to attract visitors.
Throughout this article, you’ve learned several useful and interesting things about building a website with Elementor, and we’ve already demonstrated some powerful widgets during the tutorial.
Now, it’s time to explore more exciting widgets and features of Easy Elements that can help you design modern, interactive, and professional websites with ease.
So, let’s get started.
Widgets You Can Use for Website Design
- Heading – Style Your Headings Beautifully with Easy Elements
- Button – Button Widget helps you create visually appealing buttons
- Clients Logo Grid – The Logo Grid plugin makes it easy to showcase client, sponsor, or partner logos
- Tab – Design stylish, eye-catching Tab effortlessly with Easy Elements
- Testimonials Grid – Create engaging testimonial grid widgets in WordPress to showcase client feedback beautifully.
- Info Box – Create stylish information boxes in WordPress using icons, links, and text.
- Team Grid – Showcase your team with style using the team widget.
- FAQ – Help visitors find answers instantly with a stylish FAQ section in WordPress.
- Post Grid – Create engaging post grid layouts in WordPress to showcase your latest articles, portfolio items, or news.
- Video – Showcase your video with Easy Elements
- Pricing Table – Create clean and modern pricing table with titles, descriptions, and prices.
- Service List – Create clean and modern service list with titles, descriptions and button.
- Social Share – Design beautiful info boxs from predefined styles
Many More widgets also available you can look here.
Essential Features for Modern Website Design
- Magic Cursor – Add creative parallax effects to your content
- Sticky Elements – Add animated particle effects to your content
- Cursor Hover Effect
- Cursor Move Effect
- ScrollTrigger– Animate on Scroll Like a Pro
- Background Parallax
- Visibility Control– Display Elements Intelligently with Custom Rules
- Live Copy Paste– Copy any design from the Easy Elements demo site directly into your Elementor editor with one click.
- Custom CSS– You can add custom css to your element from Elementor
- Dynamic Content – Automate Content Display & Boost Engagement
- Scroll Smoother – Enable smooth and intuitive website navigation for users.
- Global Badge – Attach a badge—icon, image, Lottie, or SVG blob—to any container.
Conclusion
Using Elementor and Easy Elements, you can build a professional, modern website without technical skills.
From headers and navigation to animated sections and custom features, this combination gives you both flexibility and power — perfect for portfolios, businesses, landing pages, and more.
Ready to try it for yourself? Start building and make your online presence shine! ✨